wherefore art thou, tallow?
This first official blog post goes out to my mama. :)
Living in Minnesota and being a nurse, my hands get dry - especially in the winter. I had heard about tallow balm but didn’t want to spend a bunch of money. So, I started doing a little research and found that it really wasn’t that hard to make, you just needed suet.
Last year when we were butchering beef, we saved the suet - the fat that surrounds the kidneys- and rendered it. This specific suet when rendered is called tallow and is one of the most moisturizing properties you can use on your skin. It is very similar to our own sebum (oil) and is loaded with fat-soluble vitamins A, D, E, and K.
Ever notice after you butcher beef, or any animal for that matter, how soft your hands are? Yeah, that’s fat. And that fat is ridiculously important for our skin.
I am lucky enough to have a family that grows cattle and chickens, gets pigs from a local farmer and hunts deer in the fall. Without them, I wouldn’t have access to these amazing meats and the various elements that come with them. So, thank you!
Okay, let’s do this! Today, we will talk about the process of rendering suet and creating two different types of tallow balm- solid and whipped.
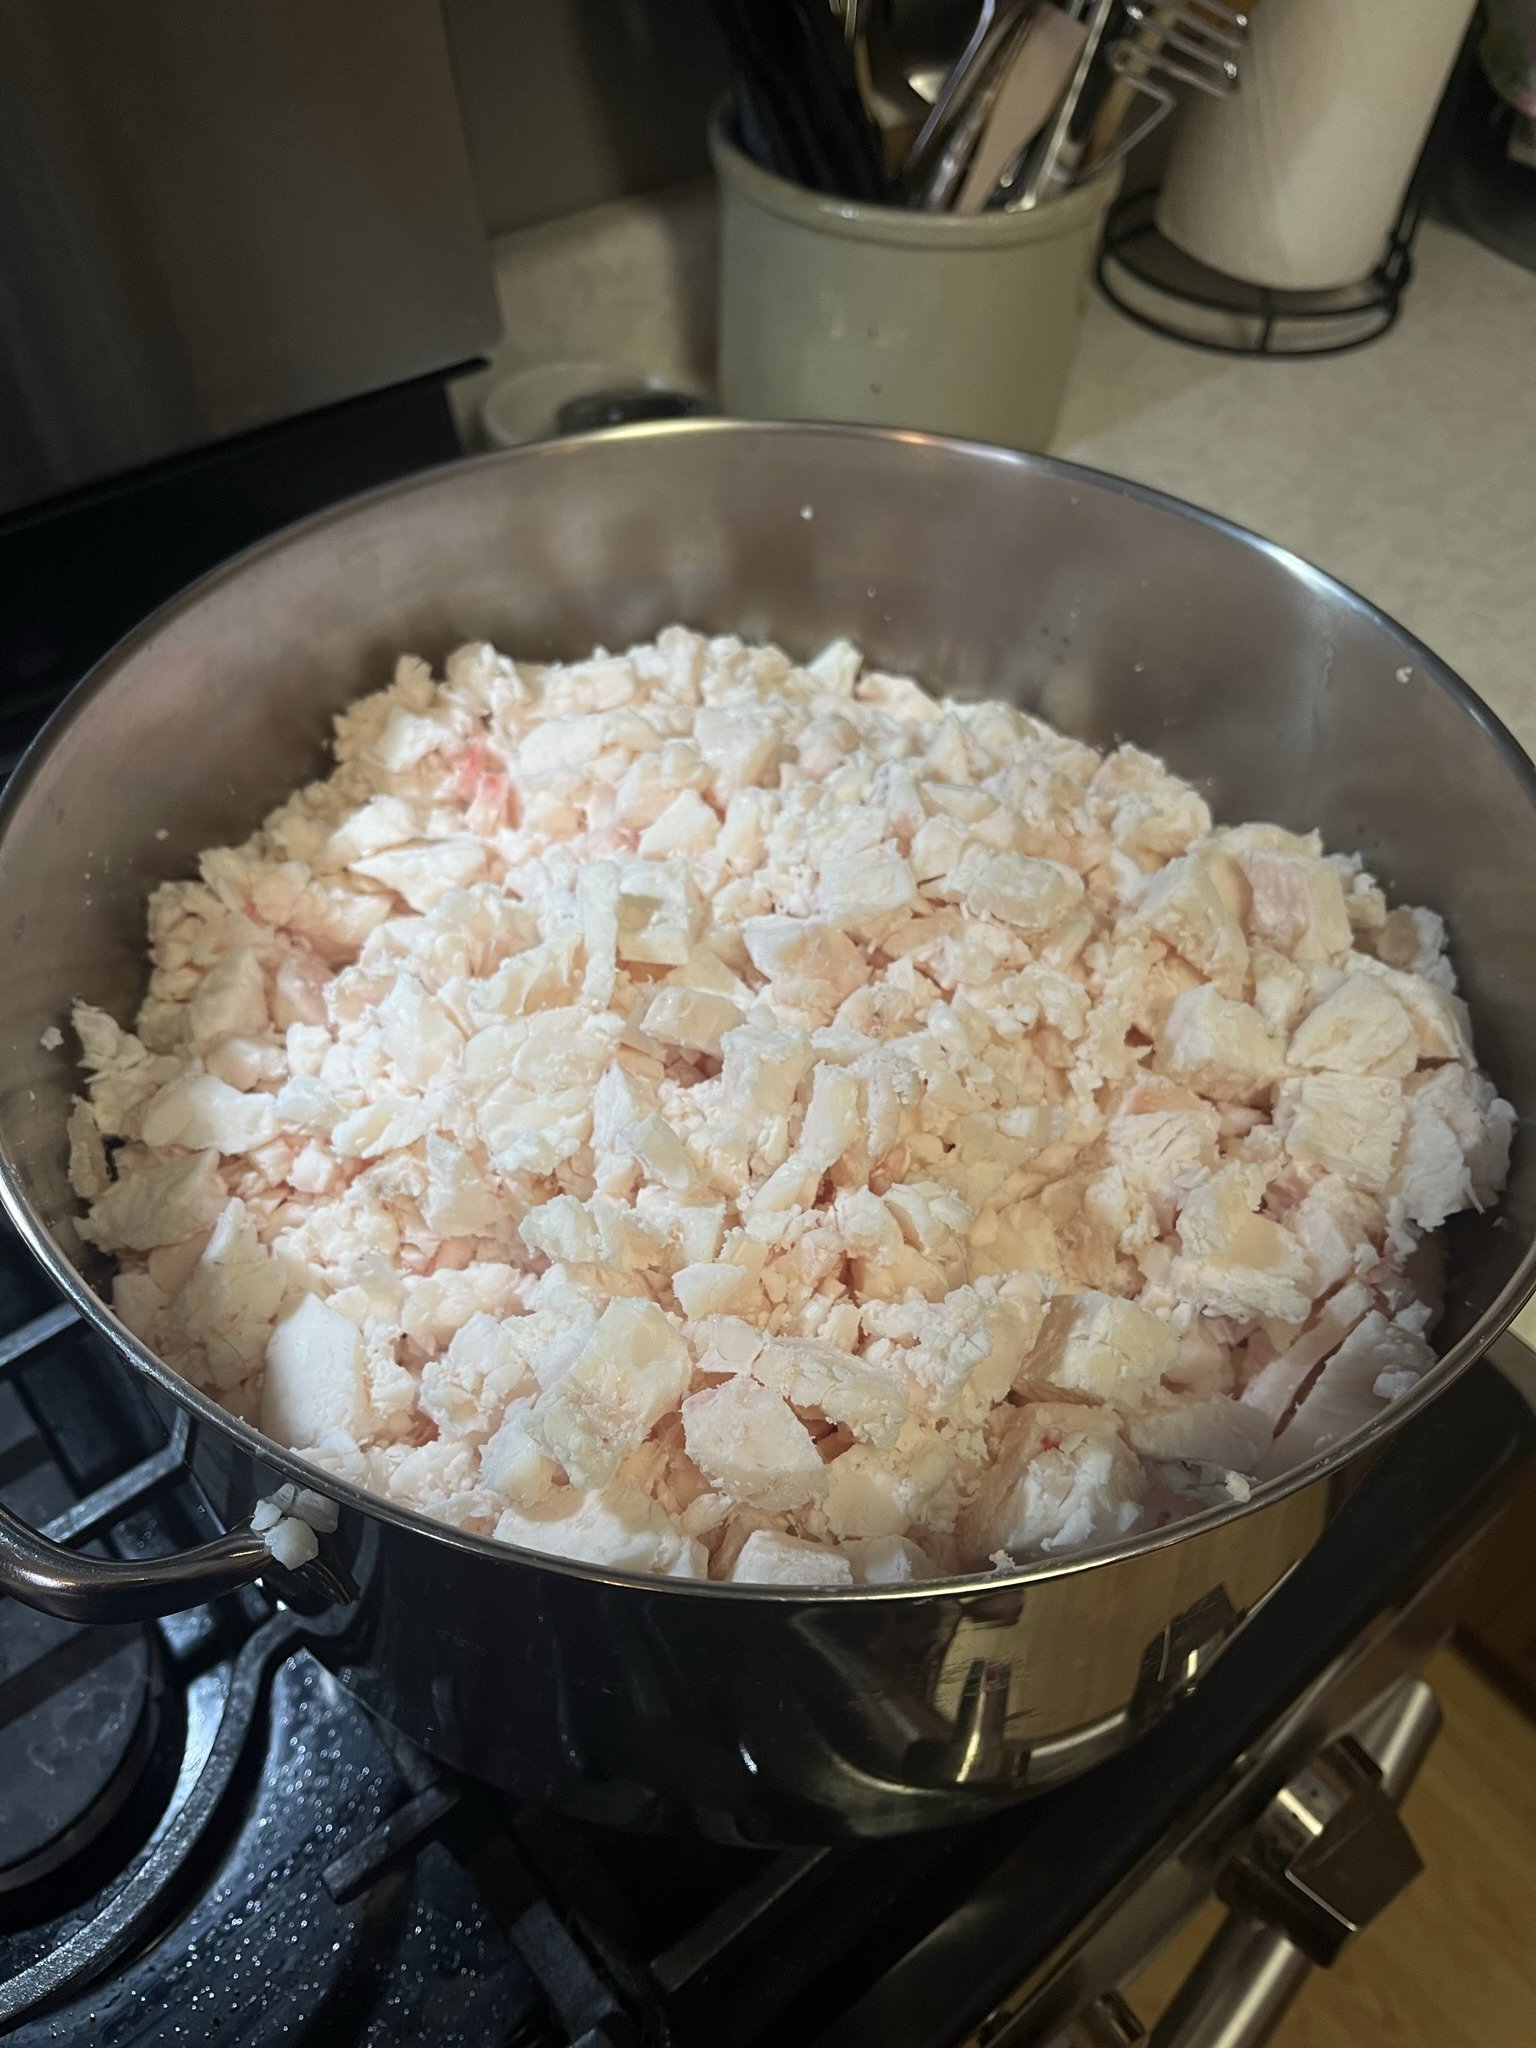
First, you want to wash off the blood and break down the suet into one-inch pieces. Discard any pieces that are still bloody or any pieces of connective tissue. You want to be left with clean, solid, white pieces of suet.
Using a large stainless steel pot or dutch oven, render the suet on medium-low heat. Rendering is essentially the process of breaking down and melting fat from connective tissues and other particulates and can take about an hour to complete. We do not want this to burn, so utilize that low heat, stir it frequently, and do the dishes or drink a cup of coffee while you wait. ;)
After a while, you will see that the suet starts to get a little jiggly and translucent, and the liquid tallow will start to form on the bottom of the pot and around the sides. This is exactly what you want! Now, keep stirring and drinking that coffee!
Keep in mind the suet will become very hot and may spatter, so remember to wear gloves while stirring! I mean we are boiling fat after all.
Finally, you will reach the end of the rendering process. You can see that the tallow has completely rendered from the cracklings or connective tissues and the cracklings have browned. Turn off the heat and let cool for about 30 minutes.
After it has cooled, strain the mixture through a cheesecloth to separate the cracklings from the tallow. This will remove all of the small particulates from the tallow and leave you with a tallow that is perfect for balm.
Additionally, you can choose to keep the cracklings -like my family- and press them with a potato ricer. This will flatten the cracklings and remove the leftover tallow. I use this tallow for cooking. I felt the potato ricer left more particulates in the tallow and I didn’t want this for my balm. Place the cooled cracklings into the freezer for later use.
Now you are ready to make the tallow balm!
Because tallow is very hard at room temperature, we are going to add 1/4 cup of olive oil to every 1 cup of liquid tallow. So, if you have 4 cups of tallow, add 1 cup of olive oil, and so forth. This will make the tallow balm have a creamy consistency and not be a hard ball of fat at room temperature.
Combine the olive oil and tallow together and add essential oils of your choosing- or don’t add any for an unscented balm. Pour the liquid into small containers and place in the fridge to firm. Congratulations, you have just made a solid tallow balm!
Now, if you are like me and love more whipped lotions, then you will love this next form of tallow balm.
Using the same recipe as the solid balm, combine your olive oil, liquid tallow, and essential oils together in a large bowl and stir. Place the bowl into the fridge or leave it on the counter until firm and opaque. Once firm beat the mixture with an electric hand mixer until white and fluffy. Place in small jars. Congratulations, you have just made your second batch of tallow balm lotion!
It really is rather easy, but definitely time consuming. You can always render the tallow first and make the lotion later, but then you have to melt the tallow again in order to combine olive oil and I find it just easier to do it all in one go.
I also understand that some people may not have many resources to get suet, but reach out to your local farmers and maybe you can score some.
I hope you enjoyed this post and let me know if you have any questions regarding tallow or the rendering process or if you would like to try some tallow balm I have made. :)
Cheers,


